Metallic Renderings Of Robots By Hajime Sorayama On Display In Tokyo
Legendary artist Sorayama’s work will be exhibited at the Tokyo Museum from March to May 2026.
“SORAYAMA: Light, Reflection, Transparency”, unveiled by Nanzuka, brings the gleam of metal to life in one of the largest retrospectives ever dedicated to Hajime Sorayama. Featuring renowned paintings, video installations, and new sculptures, the exhibition will be held at the Creative Museum Tokyo from March 14 to May 31, 2026, and will trace the evolving representations of robots throughout Sorayama’s career.
Visitors can follow the progression of Sorayama’s robotic imagery, from his first robot illustration created for a whiskey advertisement in 1978 to his most recent canvases, which explore a wide range of robotic forms, including dinosaurs and unicorns. The exhibition also includes the original painting of AIBO (Aibo), alongside a selection of iconic works. Together, these works offer a rare opportunity to experience, on an overwhelming scale, Sorayama’s half-century-long exploration of light, transparency, and reflection.
Sorayama has become a legendary figure in both Japanese and international art circles for his sustained pursuit of beauty in the human body and the machine. Beginning with his early robotic studies in 1978, his Sexy Robot series gained worldwide acclaim with the 1983 publication of the eponymous book. By merging the sensuality of the female form with robotic aesthetics, Sorayama’s work has profoundly shaped the visual language of robotic imagery. His influence can be seen in projects such as Paul Verhoeven’s American film *RoboCop* and the cover art for Aerosmith’s 2001 album “Just Push Play.”
More info: Sorayama2026 | NANZUKA
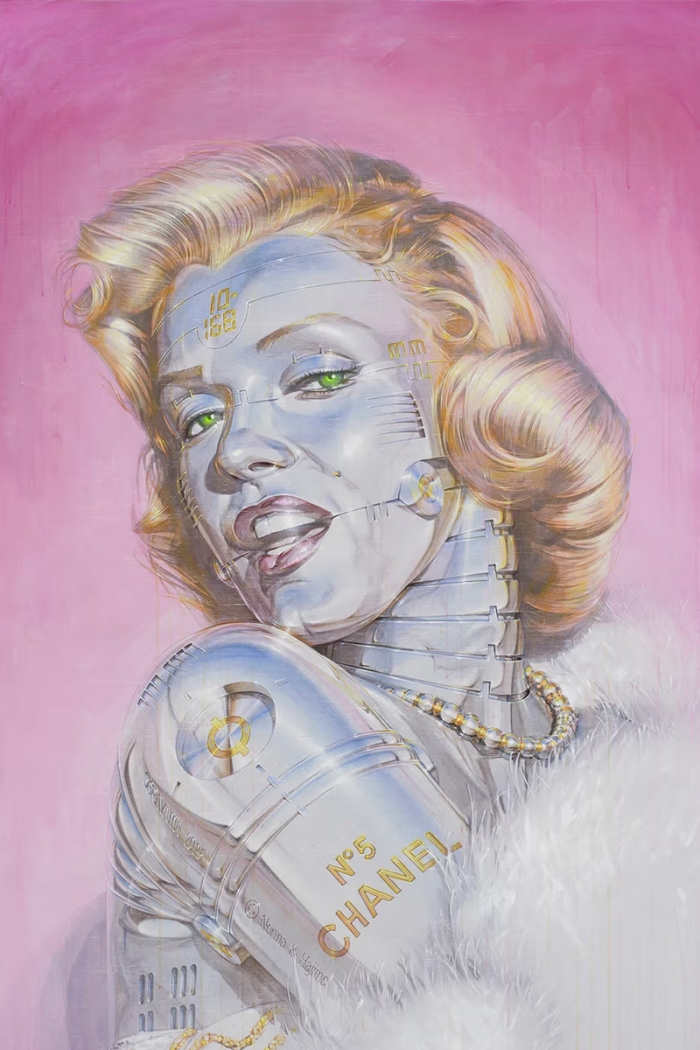 Image Source: Sorayama2026| NANZUKA
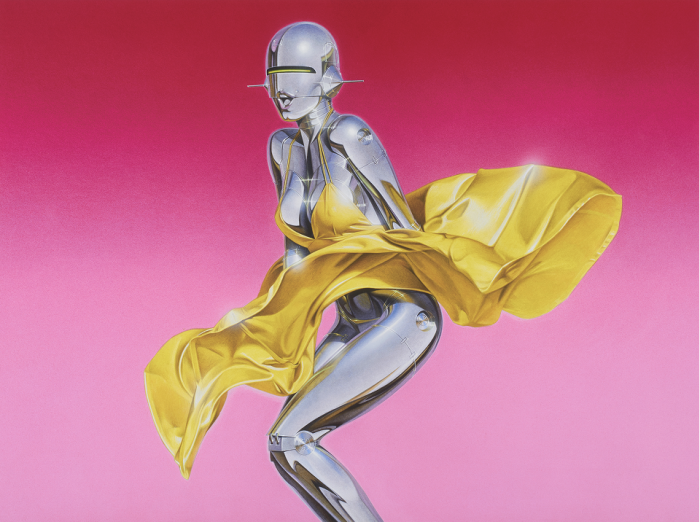 Image Source: Sorayama2026| NANZUKA
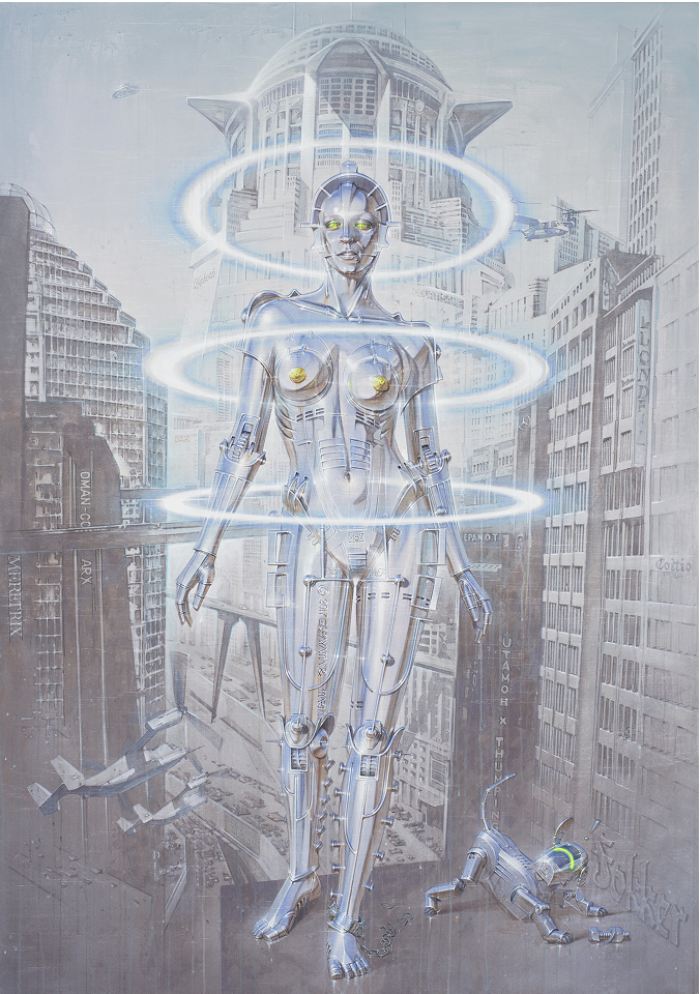 Image Source: Sorayama2026| NANZUKA
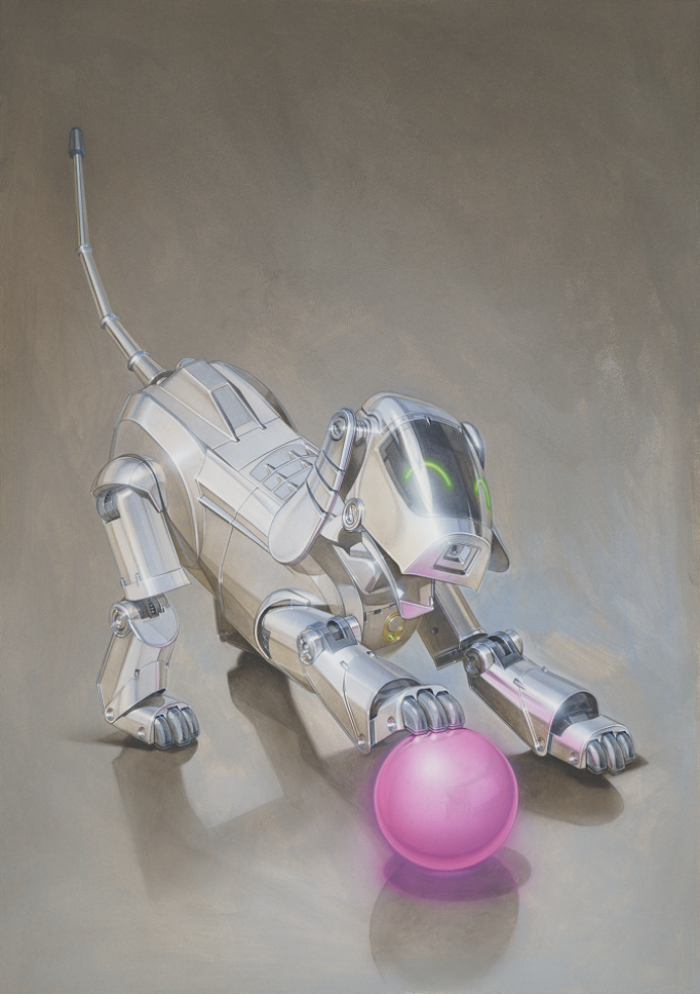 Image Source: Sorayama2026| NANZUKA
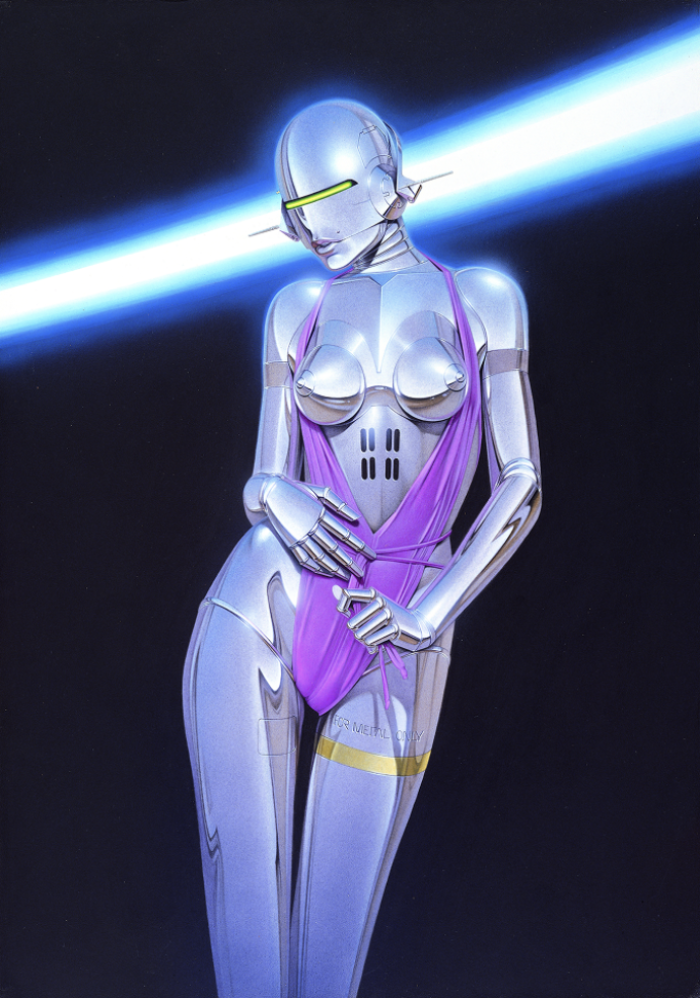 Image Source: Sorayama2026| NANZUKA
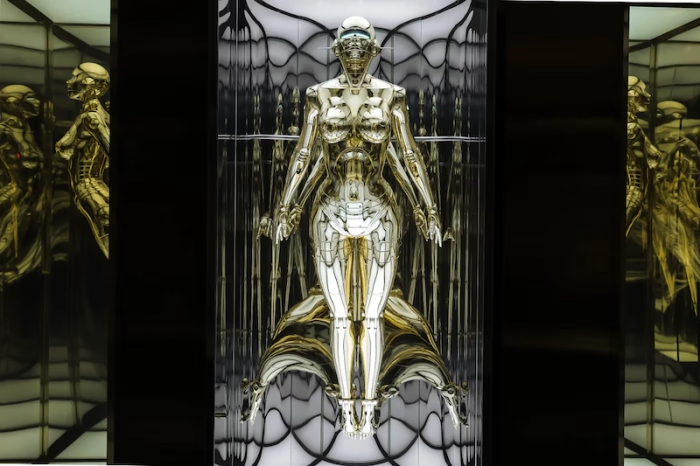 Image Source: Sorayama2026| NANZUKA
 Image Source: Sorayama2026| NANZUKA
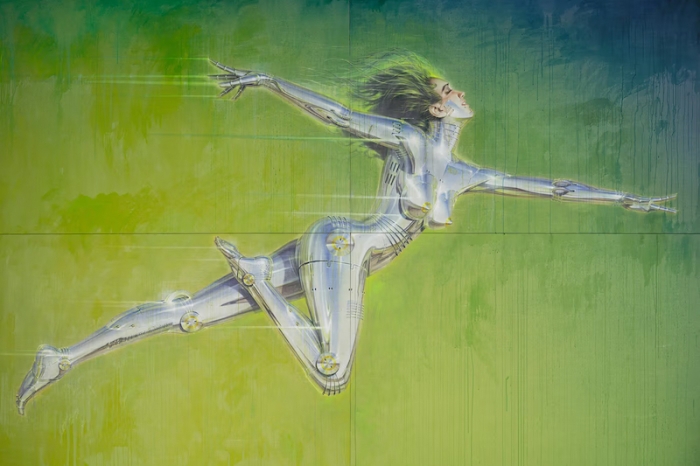 Image Source: Sorayama2026| NANZUKA
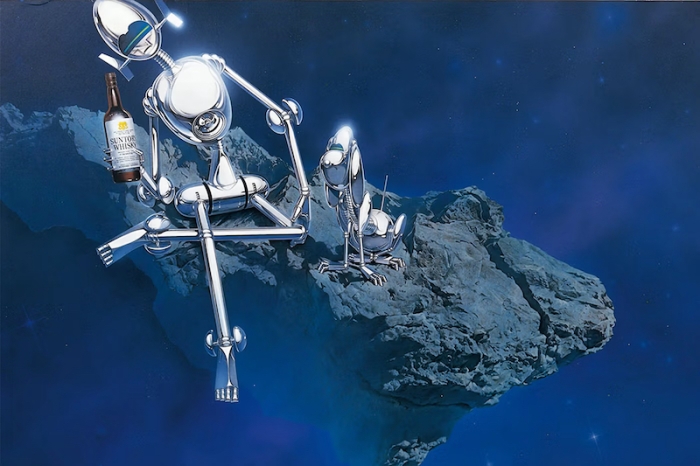 Image Source: Sorayama2026| NANZUKA
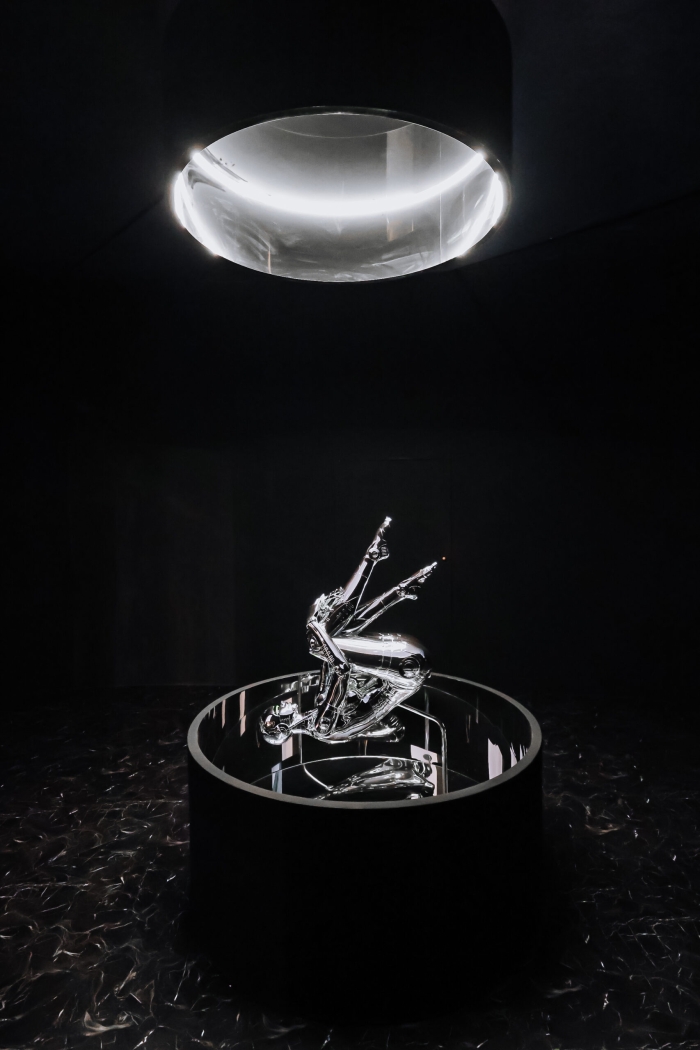 Image Source: Sorayama2026| NANZUKA
©️ Hajime Sorayama
Image Source: Sorayama2026| NANZUKA
©️ Hajime Sorayama
#1 Hajime Sorayama, Untitled (2025) Acrylic, digital print on canvas
Image Source: Sorayama2026| NANZUKA
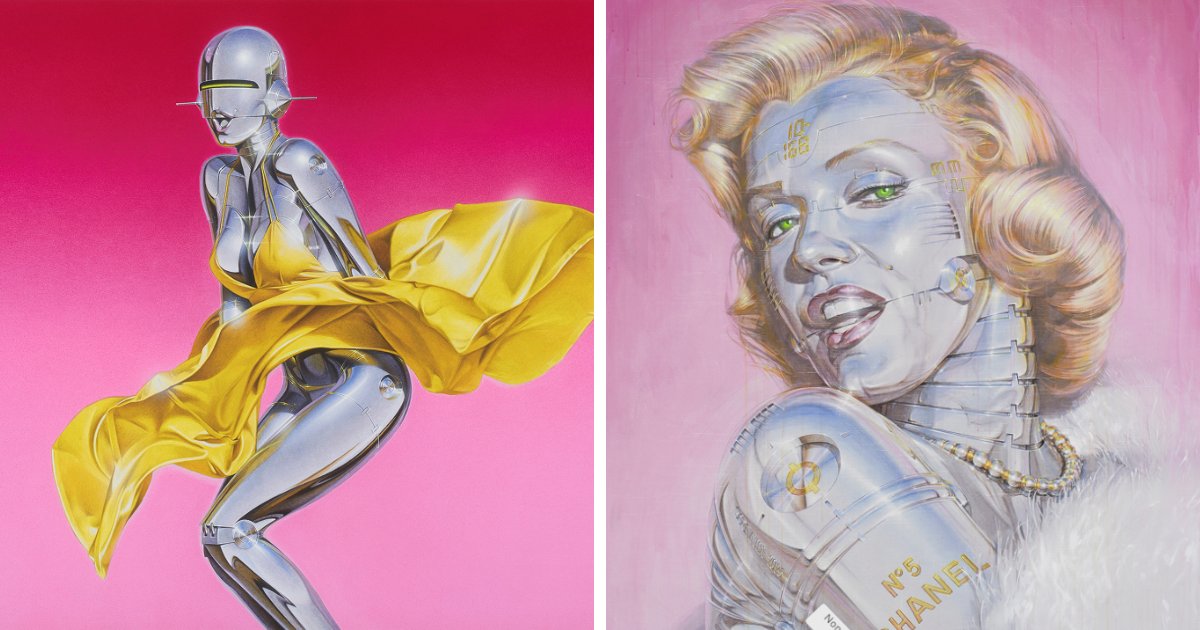
#2 Hajime Sorayama, Untitled (1982) Acrylic on illustration board
Image Source: Sorayama2026| NANZUKA
#3 Hajime Sorayama, Untitled (2023) Acrylic, digital print on canvas
Image Source: Sorayama2026| NANZUKA
#4 Hajime Sorayama, Untitled (1999) Acrylic on illustration board
Image Source: Sorayama2026| NANZUKA
#5 Hajime Sorayama, Untitled (1982) Acrylic on illustration board
Image Source: Sorayama2026| NANZUKA
#6 Hajime Sorayama, Sexy Robot type II floating_gold (2025) UV curable resin, plexiglass, silver plating, light-emitting diode, stainless steel, steel
Image Source: Sorayama2026| NANZUKA
#7 Hajime Sorayama, Untitled (2025) Acrylic, digital print on canvas
Image Source: Sorayama2026| NANZUKA
#8 Hajime Sorayama, Untitled (2023) Acrylic, digital print on canvas
Image Source: Sorayama2026| NANZUKA
#9 Hajime Sorayama, Untitled (1978) Acrylic on illustration board
Image Source: Sorayama2026| NANZUKA
#10 Hajime Sorayama, Space Traveller (2025) ABS resin, alloy, stainless steel, mirror, wood, LED light
Image Source: Sorayama2026| NANZUKA
©️ Hajime SorayamaDE
Written by
Demilked Editorial
SaaS Review Specialist · Demilked
With 5+ years in the creator, entertainment, and publishing spaces, Demilked shortlists, reviews, and ranks leading tools that actually make your life easier.